
Oracle Cloud + Kubeadm
Introduction
Oracle cloud offers a pretty good free offering with ARM based compute.
Ampere A1 Compute instances (Arm processor): All tenancies get the first 3,000 OCPU hours and 18,000 GB hours per month for free for VM instances using the VM.Standard.A1.Flex shape, which has an Arm processor. For Always Free tenancies, this is equivalent to 4 OCPUs and 24 GB of memory.
I got inspired by the post on how to setup a always free k3s cluster on oracle cloud write by zwindler.
As the machines are quite good (especially for a free tier), I wanted to deploy a full kubernetes cluster and not a lightweight one.
I decide to go with Kubeadm to setup the cluster with Containerd for container runtime and Flannel for the network.
The cluster will be composed of a control plane and two workers defined as follow:
- controlplane: 2 OCPUs and 12 GB of RAM
- worker-01: 1 OCPU and 6 GB of RAM
- worker-02: 1 OCPU and 6 GB of RAM

Actually at first I wanted to use Cilium but I had network issues with workers node.
Then I fallback to Calico but got also issues with network.
So I finally used Flannel but I don’t give up on using Cilium :)
Create resources on Oracle Cloud
This article is not a deep dive into Oracle Cloud, so I will quickly show what to create.
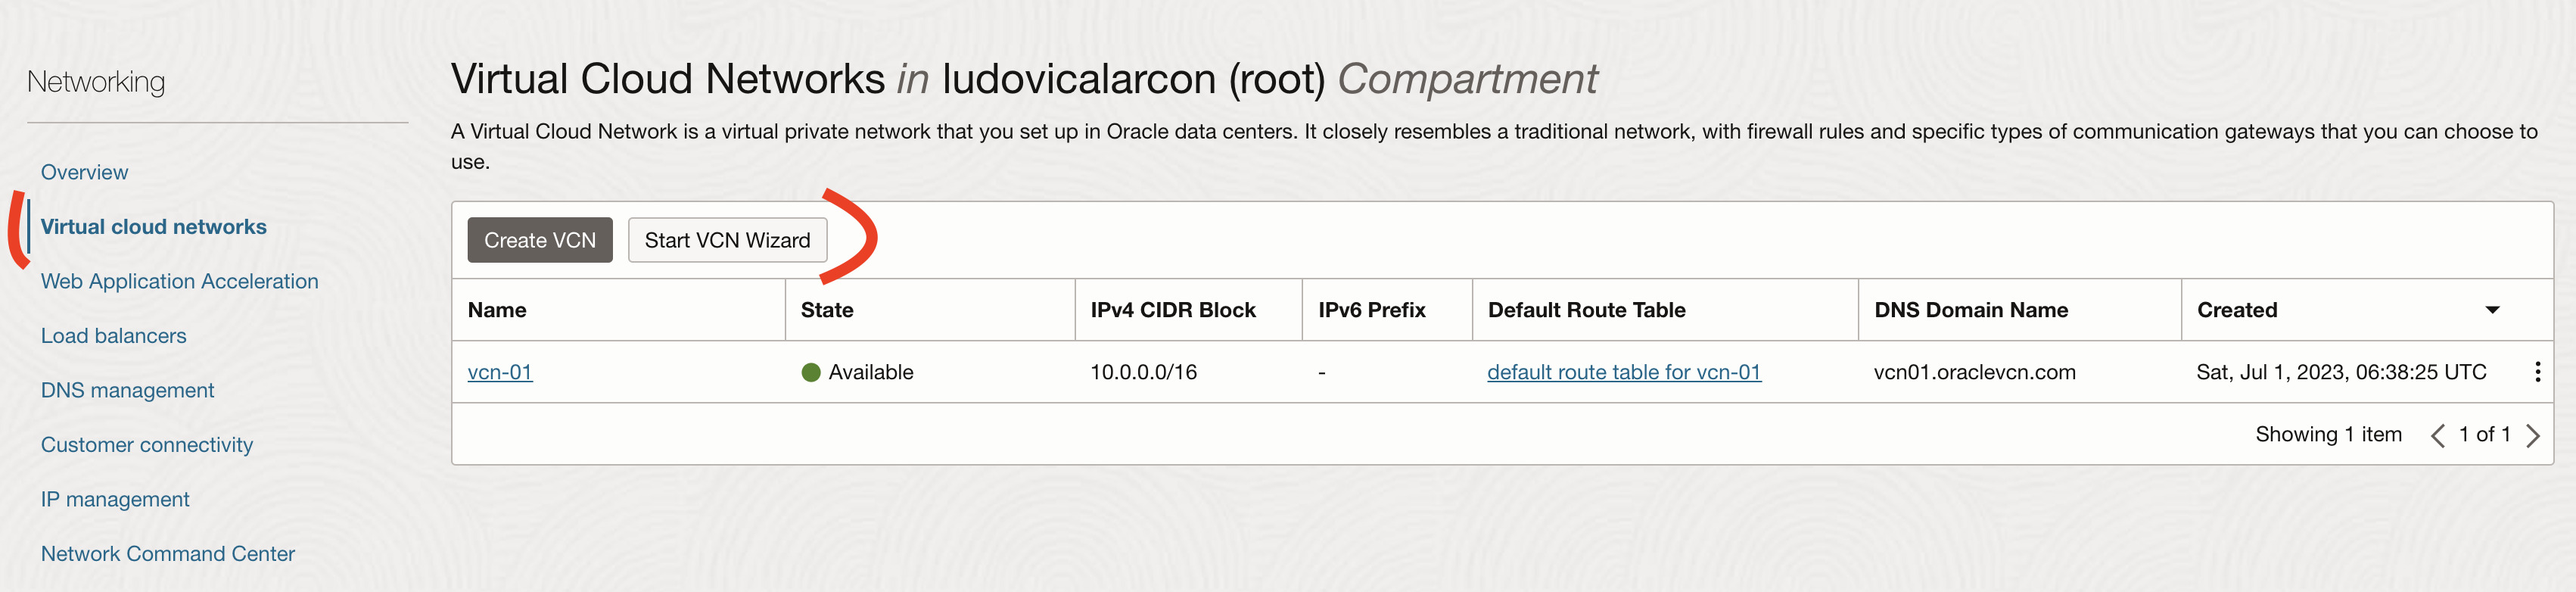
First we will need to create a Virtual Cloud Networks (VCN).
A Virtual Cloud Network is a virtual private network that you set up in Oracle data centers. It closely resembles a traditional network, with firewall rules and specific types of communication gateways that you can choose to use.
Go to Networking -> Virtual Cloud Networks -> Start VCN Wizard
Add a name and keep the default values
Now we will create our instances Go to Compute -> Instances -> Create Instance
- Give a name to the instance
- Edit the image and shape section
- image: Ubuntu 22.04
- shape: Ampere
- 2 OCPUs & 12 GB RAM for control plane
- 1 OCPU & 6 GB RAM for workers
- Edit the Networking section
- it will fill out everything with your VCN
- Generate (or upload) SSH keys
- without that step you will not be able to ssh into your instances

The last thing we need to do before starting the setup of our instance, is to open the connectivity on the firewall.
Basically by default only ssh on port 22 is opened.
As this is for testing purpose and not a production cluster, we will just open all port for TCP and UDP protocol for internal IPs (10.0.0.0/16).
For production I highly recommand to open individually the ports required
We will open the port 80 on every host (0.0.0.0/0) to be able to expose http traffic later.
Go to Networking -> Virtual Cloud Networks -> your VCN -> Subnets -> public-subnet
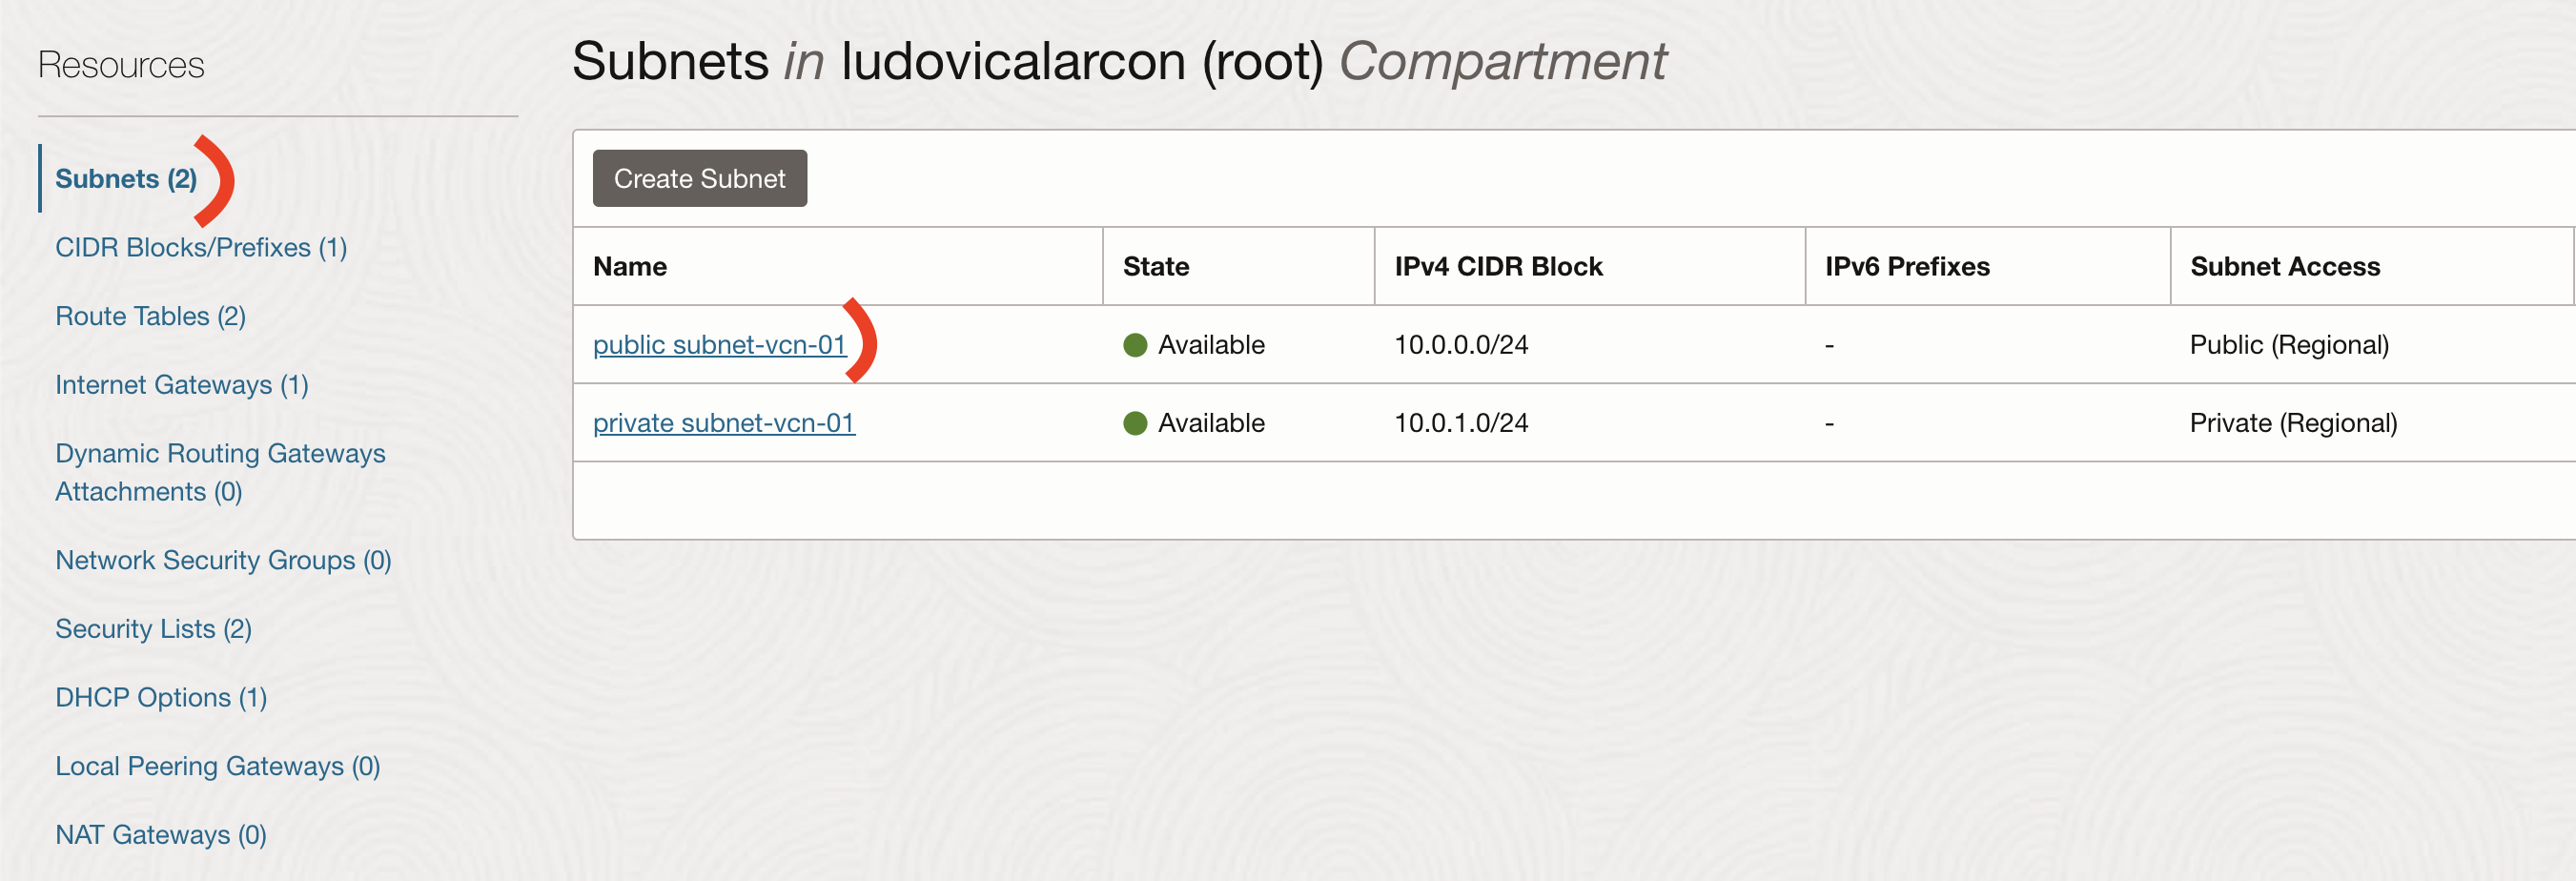
Then go to Security Lists -> Default Security List
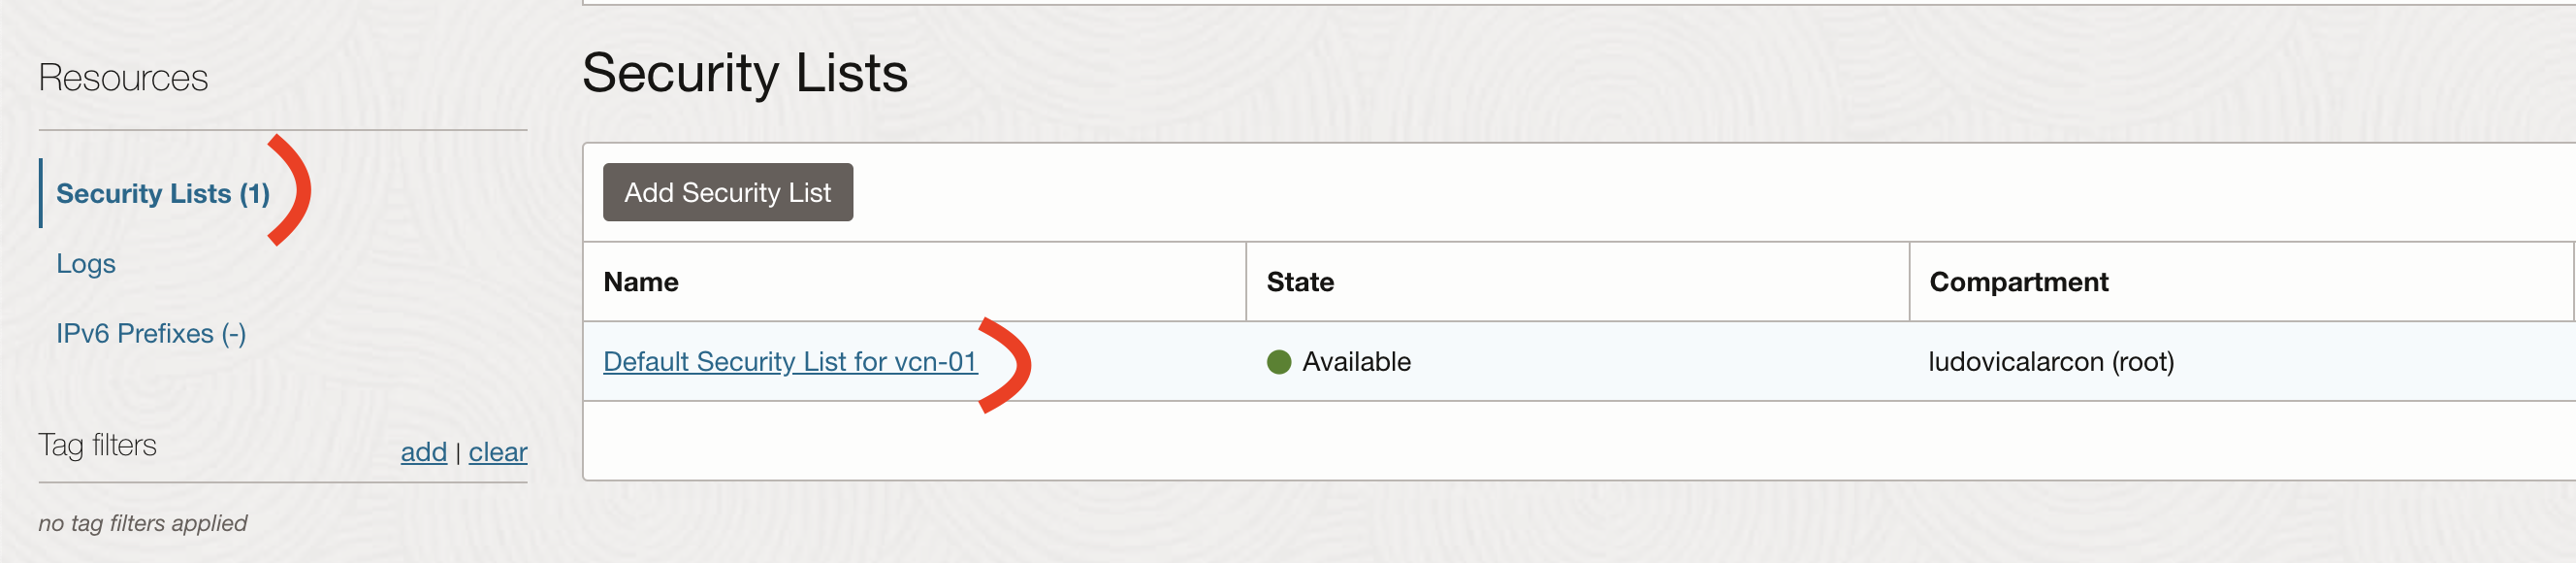
Adn finally to Ingress Rules -> Add Ingress Rules

Setup our instances
Common configuration
This is the common configuration that should be apply to all nodes (controlplane, worker-01 and worker-02).
First we will ssh on the machine.
ssh -i PATH_TO_YOUR_SSH_KEY ubuntu@PUBLIC_IP_OF_VM
iptables
I was really surprise, the default configuration of iptables made by Oracle is pretty strict and basically drop everything.
Their default security rules are quite good.
So first, we will need to edit iptables rules file to open some ports.
sudo vi /etc/iptables/rules.v4
Let’s add our rules after the line for SSH
-A INPUT -p tcp -m state --state NEW -m tcp --dport 22 -j ACCEPT
-A INPUT -p tcp -m state --state NEW -m tcp --dport 80 -j ACCEPT
-A INPUT -p tcp -m state --state NEW -m tcp --dport 443 -j ACCEPT
-A INPUT -p tcp -m state --state NEW -m tcp --dport 6443 -j ACCEPT
-A INPUT -p tcp -m state --state NEW -m tcp --dport 2379 -j ACCEPT
-A INPUT -p tcp -m state --state NEW -m tcp --dport 2380 -j ACCEPT
-A INPUT -p tcp -m state --state NEW -m tcp --dport 10250 -j ACCEPT
-A INPUT -p tcp -m state --state NEW -m tcp --dport 10251 -j ACCEPT
-A INPUT -p tcp -m state --state NEW -m tcp --dport 10252 -j ACCEPT
-A INPUT -p tcp -m state --state NEW -m tcp --match multiport --dports 30000:32767 -j ACCEPT
And delete this two lines
-A INPUT -j REJECT --reject-with icmp-host-prohibited
-A FORWARD -j REJECT --reject-with icmp-host-prohibited
Now, we need to run the following command to take into account our iptables change
sudo iptables-restore < /etc/iptables/rules.v4
Containerd
Now we open all the ports we need, we will setup and install Containerd.
Swap should be disabled in order for kubelet to work properly.
Since Kubernetes 1.8, a kubelet flag fail-on-swap has been set to true by default, that means swap is not supported by default.
More information on the Why, there is a great article
# disable swap
sudo sed -i "/ swap / s/^/#/" /etc/fstab
sudo swapoff -a
We also need to let IPtables see bridged traffic
sudo modprobe overlay
sudo modprobe br_netfilter

# Configure IPTables to see bridged traffic
cat <<EOF | sudo tee /etc/modules-load.d/containerd.conf
overlay
br_netfilter
EOF

cat <<EOF | sudo tee /etc/sysctl.d/k8s-cri-containerd.conf
net.bridge.bridge-nf-call-iptables  = 1
net.ipv4.ip_forward                 = 1
net.bridge.bridge-nf-call-ip6tables = 1
EOF

# Apply sysctl without reboot
sudo sysctl --system
First we will install Containerd as a service
# Install containerd as a service
curl -LO https://github.com/containerd/containerd/releases/download/v1.7.2/containerd-1.7.2-linux-arm64.tar.gz
sudo tar Cxzvf /usr/local containerd-1.7.2-linux-arm64.tar.gz
curl -LO https://raw.githubusercontent.com/containerd/containerd/main/containerd.service
sudo cp containerd.service /lib/systemd/system/
sudo systemctl daemon-reload
sudo systemctl enable --now containerd
# Install runc
curl -LO https://github.com/opencontainers/runc/releases/download/v1.1.7/runc.arm64
sudo install -m 755 runc.arm64 /usr/local/sbin/runc
curl -LO https://github.com/containernetworking/plugins/releases/download/v1.3.0/cni-plugins-linux-arm64-v1.3.0.tgz
sudo mkdir -p /opt/cni/bin
sudo tar Cxzvf /opt/cni/bin cni-plugins-linux-arm64-v1.3.0.tgz
Now we will generate the default configuration for containerd and enable Cgroup
# Create containerd configuration
sudo mkdir -p /etc/containerd
sudo containerd config default | sudo tee /etc/containerd/config.toml

# Enable Cgroup
sudo sed -i 's/            SystemdCgroup = false/            SystemdCgroup = true/' /etc/containerd/config.toml
sudo systemctl restart containerd
Kubeadm, Kubelet and Kubectl
Then, we will install Kubeadm, Kubelet and Kubectl with version 1.27.3.
# Adding source for kubectl, kubeadm and kubelet
curl -s https://packages.cloud.google.com/apt/doc/apt-key.gpg | sudo apt-key add -
echo "deb https://apt.kubernetes.io/ kubernetes-xenial main" | sudo tee -a /etc/apt/sources.list.d/kubernetes.list

sudo apt-get update

# Install tools
KUBERNETES_VERSION="1.27.3-00"
sudo apt-get install -y kubelet=$KUBERNETES_VERSION \
                        kubeadm=$KUBERNETES_VERSION \
                        kubectl=$KUBERNETES_VERSION
sudo apt-mark hold kubelet=$KUBERNETES_VERSION kubeadm=$KUBERNETES_VERSION kubectl=$KUBERNETES_VERSION
Control plane
On the control plane, we will run the kubeadm init command.
We will use the following CIDR 10.244.0.0/16 for the pod network needed by Flannel CNI that will be installed later on.
CONTROL_PLANE_IP="10.0.0.XX" # Private IP of control plane
POD_CIDR="10.244.0.0/16" # Flannel default values
sudo kubeadm init --pod-network-cidr=$POD_CIDR --apiserver-advertise-address=$CONTROL_PLANE_IP --apiserver-cert-extra-sans=$CONTROL_PLANE_IP --node-name=$(hostname -s)
Note the kubeadm join command line given at the end of the kubeadm init output, we will use it right after.
Worker node
We will run the previously retrieve kubeadm join command on every worker node.
kubeadm join ...
Control plane next step
First let’s retrieve the kubeconfig file to be able to interact with our fresh next cluster.
mkdir -p $HOME/.kube
sudo cp -i /etc/kubernetes/admin.conf $HOME/.kube/config
sudo chown $(id -u):$(id -g) $HOME/.kube/config
If we execute the get node command we can see that all our nodes are in a NotReady state.
No worries, it’s perfectly normal, we first need to install a CNI.
kubectl get no
It’s time to install Flannel
kubectl apply -f https://raw.githubusercontent.com/coreos/flannel/master/Documentation/kube-flannel.yml
When all pods are running in the kube-flannel namespace, all your nodes will have a Ready state.
kubectl get no
NAME           STATUS   ROLES           AGE     VERSION
controlplane   Ready    control-plane   1h      v1.27.3
worker-01      Ready    worker          1h      v1.27.3
worker-02      Ready    worker          1h      v1.27.3
To ensure that everything is working properly, we will run a dnsutils pod and try the dns resolution.
kubectl apply -f https://k8s.io/examples/admin/dns/dnsutils.yaml
Once the pod is running
kubectl exec -it dnsutils -- nslookup kubernetes.default
Ok, so now, we will install metrics-server.
curl -OL https://github.com/kubernetes-sigs/metrics-server/releases/latest/download/components.yaml
sed -i "/--metric-resolution/a\        - --kubelet-insecure-tls" components.yaml
kubectl apply -f components.yaml
rm components.yaml
We can now use the following command to ensure metrics-server is running
kubectl top no
NAME           CPU(cores)   CPU%   MEMORY(bytes)   MEMORY%
controlplane   70m          3%     1874Mi          15%
worker-01      28m          2%     1612Mi          27%
worker-02      21m          2%     1463Mi          25%
We now have a basic kubernetes setup in Oracle Cloud ARM VMs but we cannot expose http traffic.
That’s not really great…
Expose traffic
MetalLB
According to their documentation
MetalLB is a load-balancer implementation for bare metal Kubernetes clusters, using standard routing protocols.
MetalLB supports both BGP and Layer2 configuration. We will setup a basic Layer2 configuration with IPv4.
kubectl apply -f https://raw.githubusercontent.com/metallb/metallb/v0.13.10/config/manifests/metallb-native.yaml
Now we need to configure our IPAddressPool for MetalLB.
apiVersion: metallb.io/v1beta1
kind: IPAddressPool
metadata:
  name: default-pool
  namespace: metallb-system
spec:
  addresses:
  - 10.0.0.240-10.0.0.250
---
apiVersion: metallb.io/v1beta1
kind: L2Advertisement
metadata:
  name: default
  namespace: metallb-system
spec:
  ipAddressPools:
  - default-pool
Nginx Ingress Controller
We will use Nginx as Ingress Controller.
kubectl apply -f https://raw.githubusercontent.com/kubernetes/ingress-nginx/controller-v1.8.1/deploy/static/provider/cloud/deploy.yaml
Thanks to metalLB, we should now have an external-ip of 10.0.0.240 for the loadbalancer service of nginx.
kubectl get svc -n ingress-nginx
NAME                                 TYPE           CLUSTER-IP      EXTERNAL-IP   PORT(S)                      AGE
ingress-nginx-controller             LoadBalancer   10.111.77.181   10.0.0.240    80:30325/TCP,443:32653/TCP   2h
ingress-nginx-controller-admission   ClusterIP      10.99.16.76     <none>        443/TCP                      2h
We will now deploy a sample application to ensure everything is working properly.
apiVersion: apps/v1
kind: Deployment
metadata:
  name: whoami-deployment
spec:
  selector:
    matchLabels:
      app: whoami
  replicas: 2
  template:
    metadata:
      labels:
        app: whoami
    spec:
      containers:
      - name: whoami
        image: containous/whoami
        ports:
        - containerPort: 80
---
apiVersion: v1
kind: Service
metadata:
  creationTimestamp: null
  labels:
    app: whoami
  name: whoami
spec:
  ports:
  - port: 80
    protocol: TCP
    targetPort: 80
  selector:
    app: whoami
---
apiVersion: networking.k8s.io/v1
kind: Ingress
metadata:
  name: whoami
spec:
  ingressClassName: nginx
  rules:
  - http:
      paths:
      - path: /whoami
        pathType: Prefix
        backend:
          service:
            name: whoami
            port:
              number: 80
And we should be able to curl it from our controlplane or workers node
curl 10.0.0.240/whoami
Great ! But the external-ip is a private ip… it’s not very useful…
We will then install nginx as reverse proxy to be able to expose traffic from public internet!
It’s possible to do NAT routing with iptables but I prefer have a reverse proxy.
sudo apt install nginx
sudo vi /etc/nginx/sites-enabled/default
Replace the location / block by the following
location / {
    proxy_pass http://10.0.0.240:80/;
}
And then reload nginx
sudo systemctl reload nginx
We are now able to query our whoami from public internet using the public ip of our VMs.
Oracle Load Balancer
The free tier also have a Load Balancer, let’s setup one to target all our nodes reverse-proxy.
I’m using the whoami app as health check prob for the LB.
Go to Networking -> Load Balancers -> Create a Load Balancers
- Details page
- add a name
- add your VCN and public subnet
- Choose backends page
- add all the nodes
- on URL path for the health check put
/whoami
- Configure Listener
- use HTTPS if you have a certificate or HTTP otherwise
After few minutes, your LB will be ready.

Conclusion
We now have a Kubernetes cluster ready on the free tier of Oracle Cloud.
It’s a nice playground for testing everything Kubernetes related.
Related articles:
I hope this was useful!